Continuing in my recent adventures series, here's the smaller things I've been up to lately. I think I'd like to make this series more of a consistent monthly status update thing, but idk if I do interesting things regularly enough for that. Anyway, let's get into it.
see sharply the code
You may know that I got an HP omen laptop recently. The proprietary Windows omen bloatware can manage the fans and such on the laptop (as well as access the Dedicated Bloatware Button™), which seem to be inaccessible to most Linux programs, since they are done through the EC. There is nbfc (cross platform version), but you need to figure out the EC registers first. How better to do that than take the HP bloatware, which is luckily written in trivially-decompileable C#, and decompile it? I used ilspy to pick through some of the enormous amount of DLLs that they ship in order to find which EC registers they use to control the fans and power stuff. I haven't done much with the information yet, because of some unrelated laptop issues, but I hope to be able to create an nbfc config to run my fans in a slightly smarter manner than the default bios fan management. You can literally get variable names and original code structure out of C# with ilspy, which is really insane. I come from the land of N64 C decompilation, where you don't get jack, which is arguably much more interesting and fun, but also significantly less convenient when you want to learn something. There are so many typoes in this thing. Too bad you can't see comments lmao.

eanble

rgistry, resotre, performace
scads of them
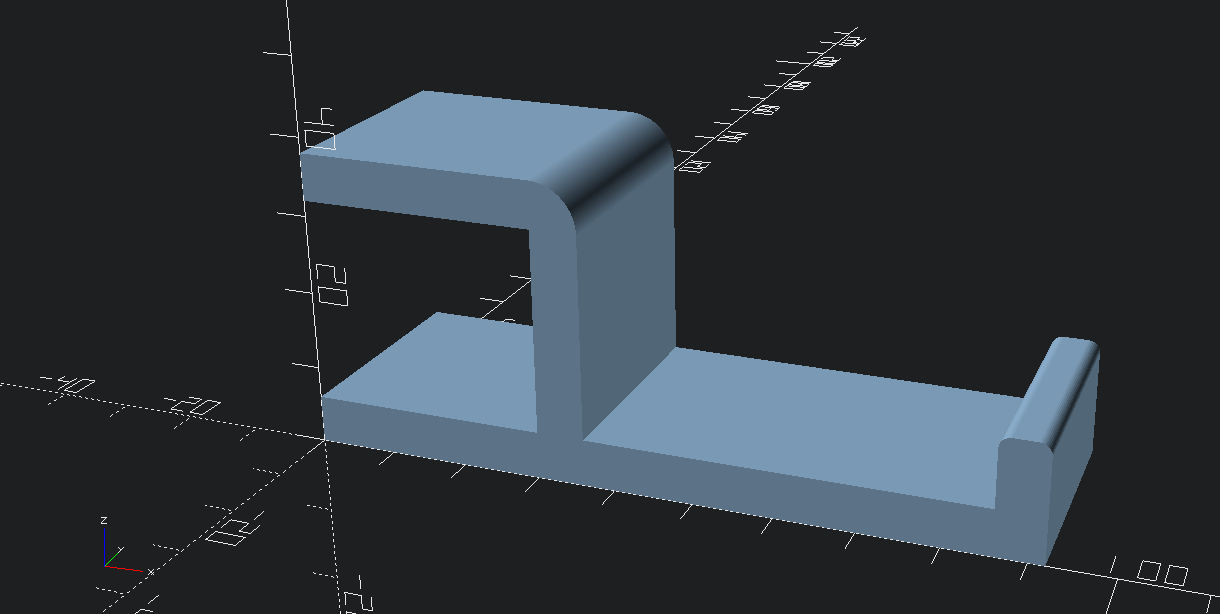
For a second I wanted to learn openscad, before I realized that it's actually much more painful to create complex shapes in scad than it is in fusion. (sorry guys, the one place I default on my open source philosophy is cad, i just like fusion.) Anyway, while I was learning it, I created a headphone holder thing to hang on the edge of my desk, since I'd been using a crappy one made for somebody else's desk for the last like two and a half years. This one can be adjusted for anyone's desk, now, which I know is not impressive at all since it's like 4 rectangular prisms, but at least it's something. It does indeed fit my desk much better than the last one did, and I no longer have to stick it down with blue-tak to prevent my headphones from biting the dust. You can find it on thingiverse.

Not particularly interesting
is that a reference to the original duckroll?
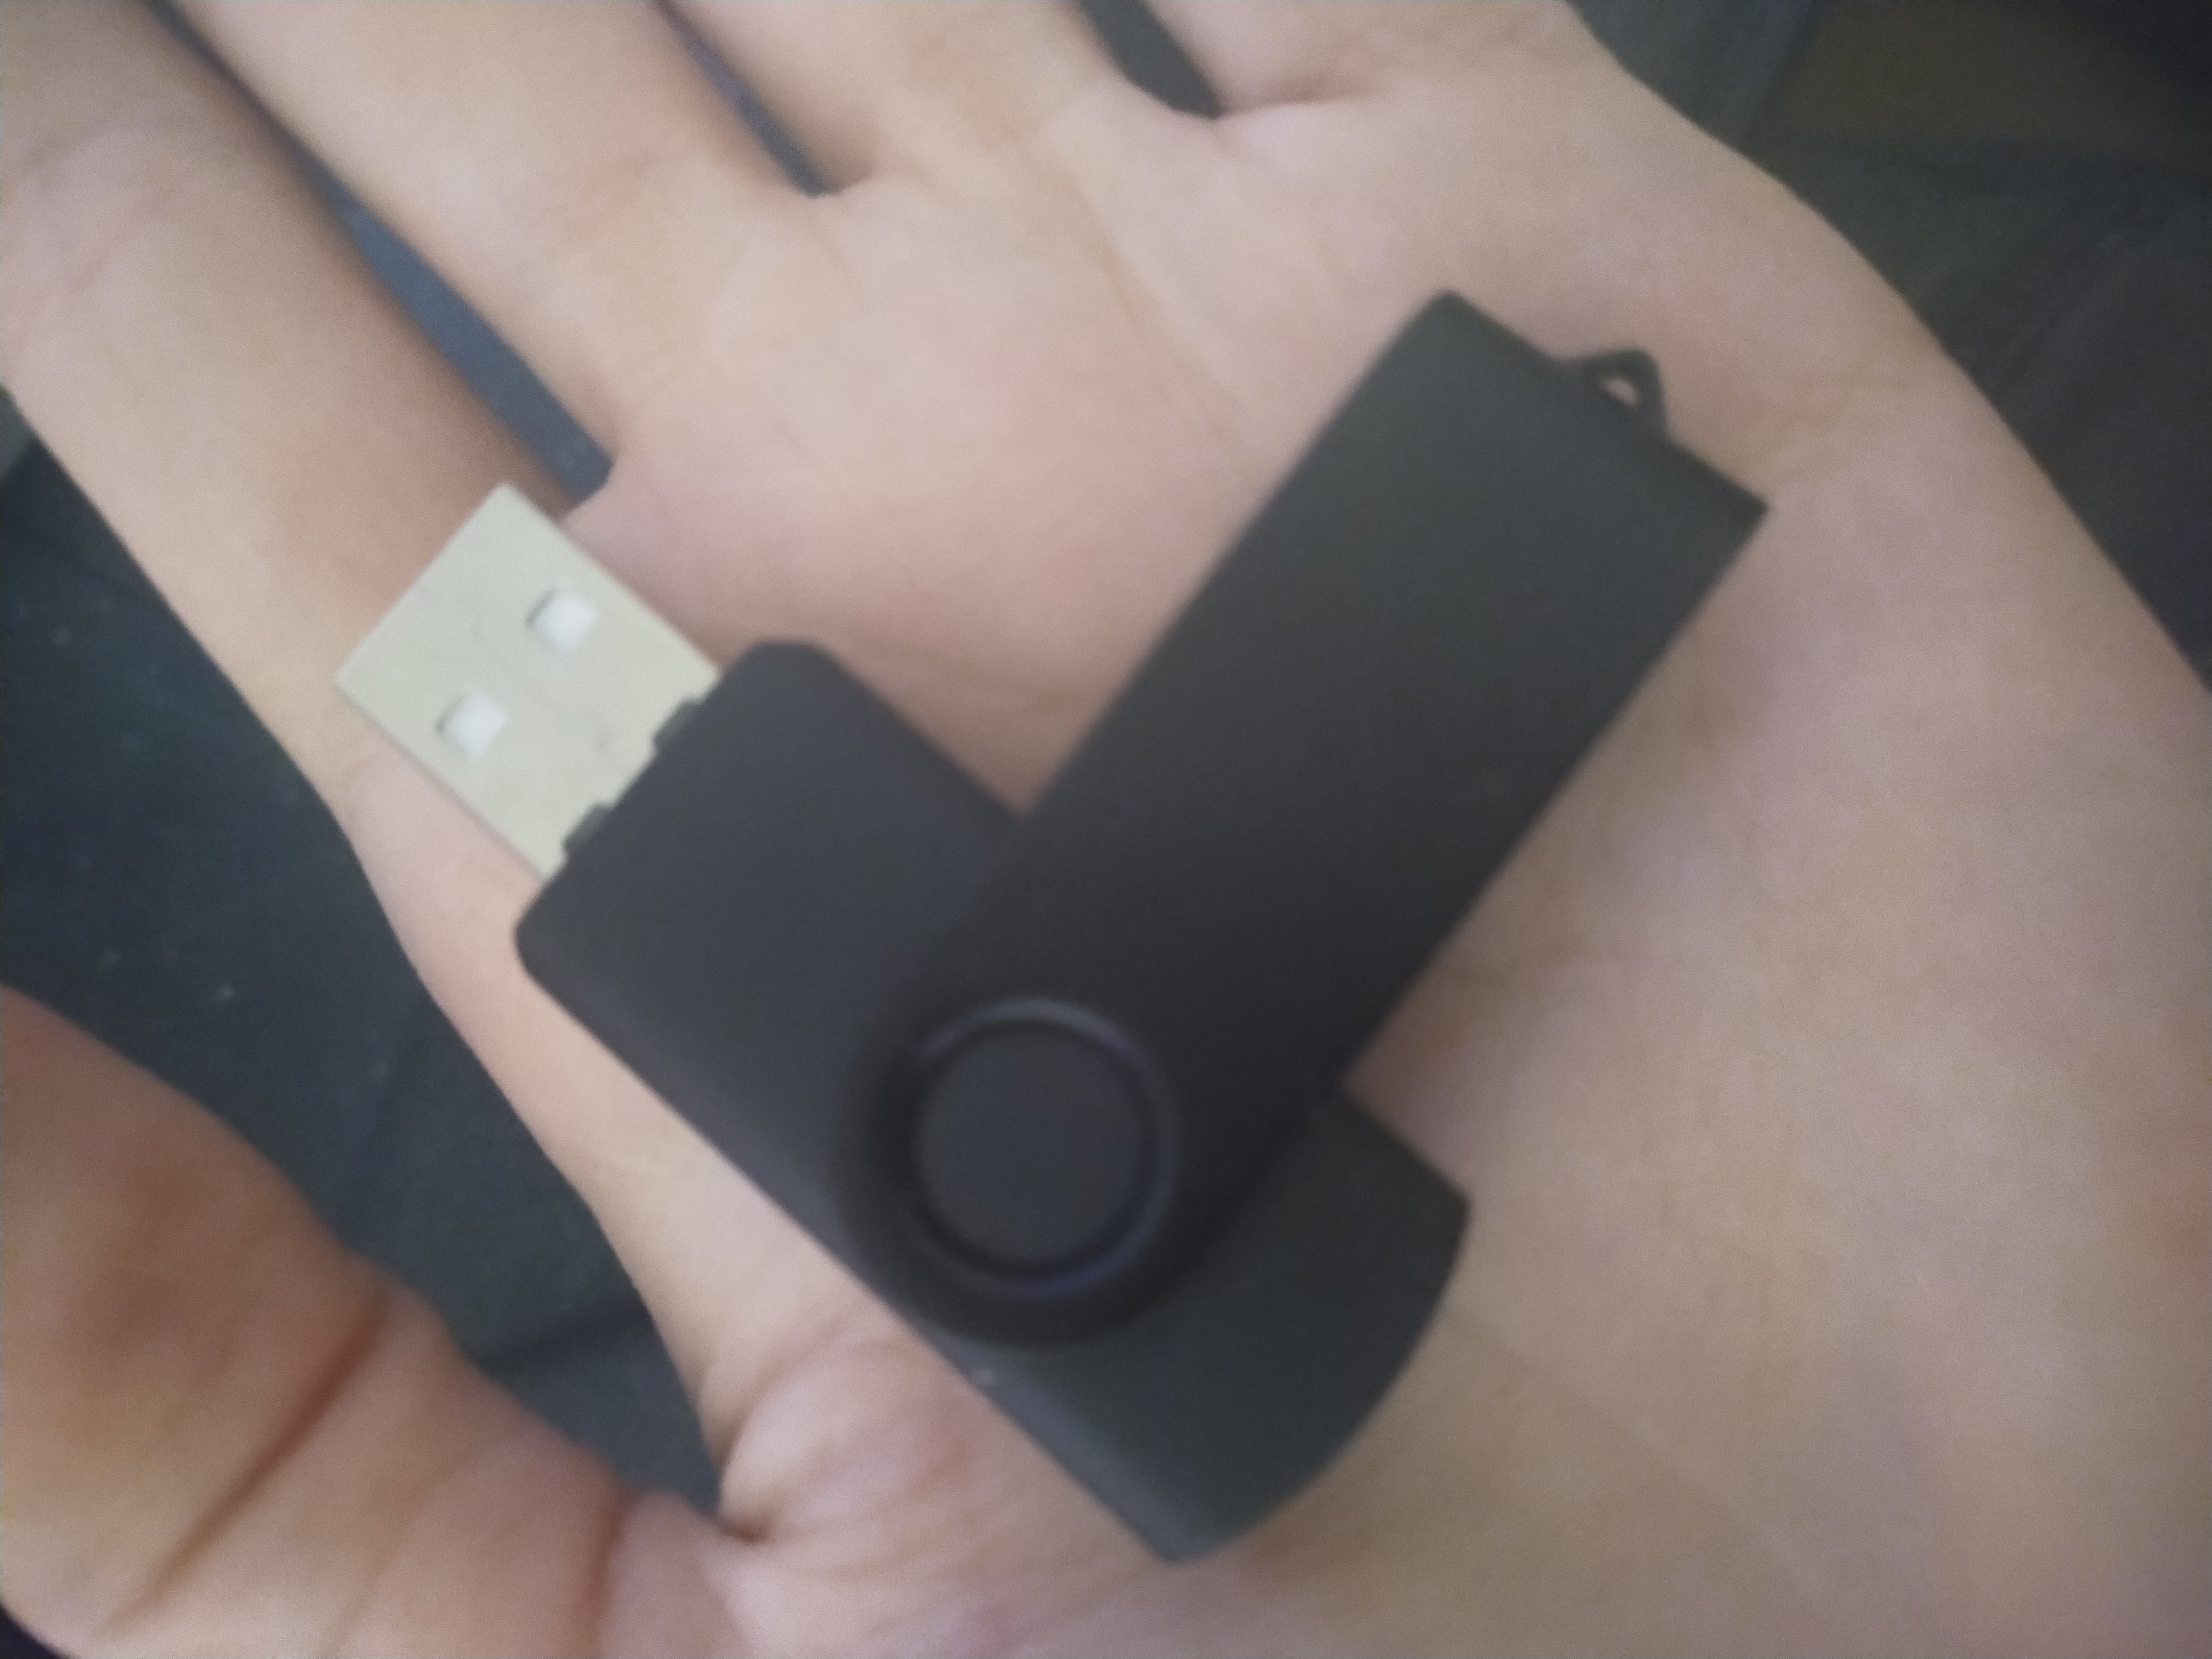
In my engineering class, every year we do a white elephant gag gift exchange around Christmas. This year, for my gift, which in the past has ranged from a box of rocks to 40 pounds of unripe lemons, I decided to create a USB drive that rickrolls you when plugged into your computer. I basically got the idea from one of my friends last year who did a presentation about USB security and rubber-duckies, but I wanted to disguise this one really well so it would be totally innocuous. I also didn't want to pay money for the real deal, so instead I found a random USB drive around my house and cracked it open to remove the actual flash part. Then I grabbed some parts from Adafruit: this tiny cortex-m0 microcontroller (since it was the only thing in stock that would fit into the shell of the USB drive) and a male USB-A connector, to disguise it, since the PCB connector would be instantly suspicious.

This thing is incredibly small in person
Wrote up some quick code using the arduino-provided Keyboard.h to send some strings and bam! But wait, that was too boring, so I also wrote approximately 8 times as much code to make the 4 LEDs on the thing cycle as it typed, turning
on one light each time a key was pressed and turning it off when released. Yes, even though the actual microcontroller would be hidden inside a USB stick. Sue me. Anyway, the thing works only on Windows, by pressing win+r and then typing
in a url to a rickroll video. It then lets it play for a while, opens up notepad through win+r again, and then types out a spiel about not trusting USB devices and also threatening to make the user stub their toe. It was a lot of fun
to make, even if i did accidentally pwn myself with it once or twice or five times while i was trying to program it (my friends in discord can attest to this). Here's the finished product (or is it??) all packaged back up in its
generic USB casing. I successfully passed it off at the gift exchange and many people were rickrolled, so I consider it a success. Embarrassingly, I forgot to take a picture of
the solder bodge that I did to connect the usb connector to the trinket, but you didn't need to see that anyway.

Bravo 6, going dark
majorly masked or something (couldn't think of a good title for this one)
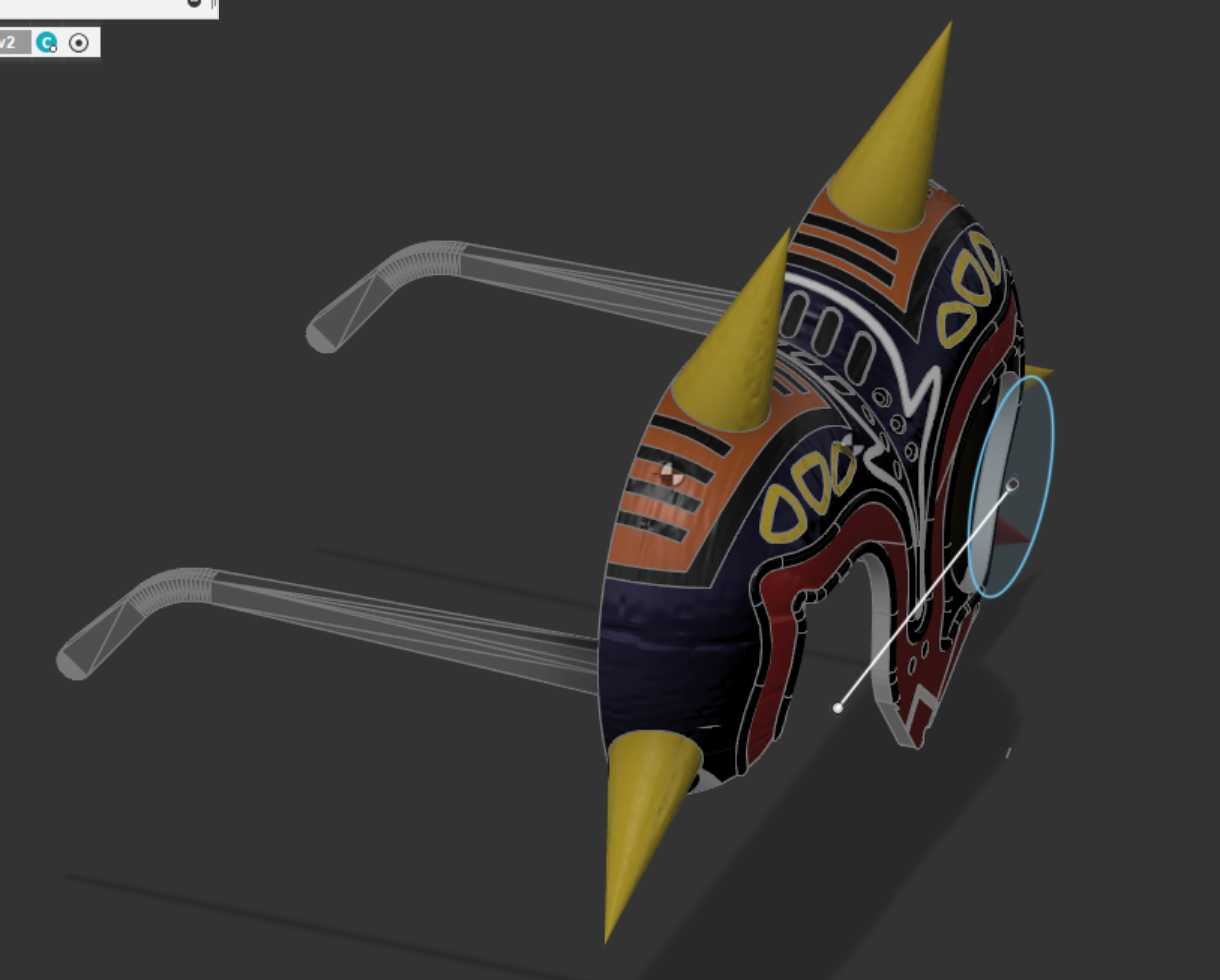
For complicated reasons, I decided to start creating a masquerade mask that is Majora's mask. The plan is to 3D print it and have one of the eyes glow with this neopixel ring that I had laying around. In true periwinkle-project-management fashion, I spent hours working on the easy part (software) to make the LED ring have multiple functions and adjustible brightness before I even started thinking about the 3d model. I'd include a video here but it's too hard to video LED lights so too bad, I guess. Anyway, I stole somebody's majora's mask model off the internet and chopped off half of it and added some glasses parts to hold it on your face. I don't really know if it's going to fit a person yet (haven't started printing or anything, it's not quite done) but if it does, then all that is left will be printing out an eye (for the giant circular gap) and then installing electronics. I'm using my pi pico that I had on hand for this one since I didn't want to order from adafruit twice in the same month (shipping hits hard, man). If I'm feeling extra spicy, I may also install lights in the spikes, but I'm not as sure on that one. The main mask will be printed out of opaque white filament (so I can paint it) but I have some slightly transparent white filament to print the lighted parts with. We'll see how it comes out. All I can offer you right now is this CAD model, lol.

This is starting to look like one of those cursed new years glasses things...