so you coughed up the (now) us$70 (or 80 in the past) for a first-party nintendo switch pro controller. Congratulations, you own an excellent piece of hardware, with amazing battery life, great button feel, and overall significantly better usability than joycons. except the d-pad, which for precision tasks like speedrunning, sucks absolute ass. there's a couple things you can do about this, all of which involve dismantling the controller. here's how. at the end i will also discuss how my 3d-printed design improves on the original to prevent misinputs.
- before you start
there are a lot of tiny phillips screws in here, meaning that they are fairly easy to kill, so be careful. you will need a suitable storage medium (since the screws from different areas are different) and a suitable screwdriver. i've found that the random one which came in a joycon joystick replacement kit works the best. you will also probably want a decent pair of tweezers for the ribbon cable, although small pliers will work. you're probably voiding the warranty or whatever. onward.
- remove the grips

each grip has one screw in it on the very end. in my experience these screws are incredibly easy to strip, more so than the others, so be very careful. once you have removed the screws the grips should just slide off.
- remove the backplate
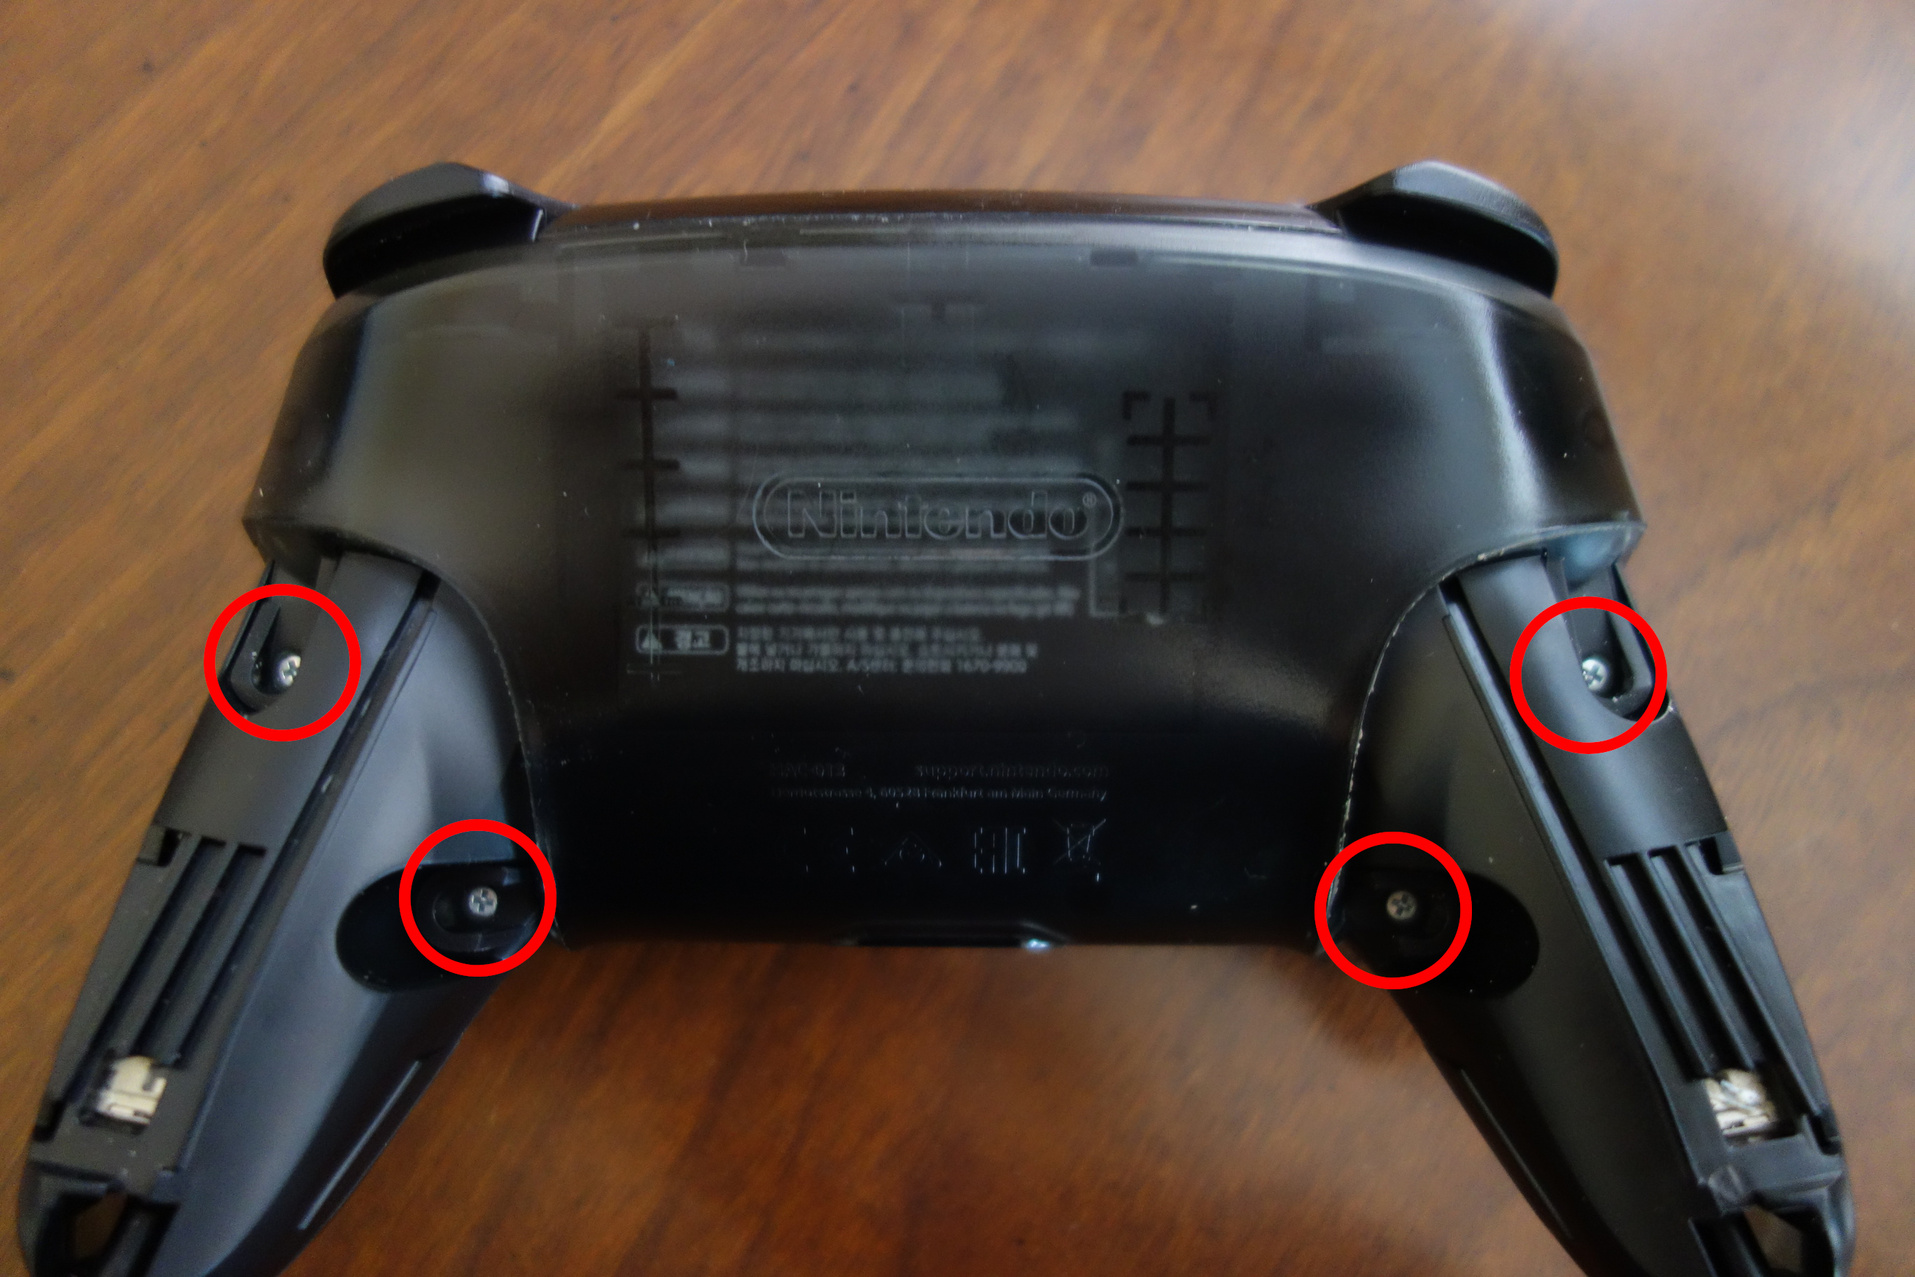
there are 4 screws. from now on, the screws seem less difficult to strip, but definitely still easy. they will still work with the screwdriver i mentioned earlier, though. once you have taken them out, you can lift off the backplate.
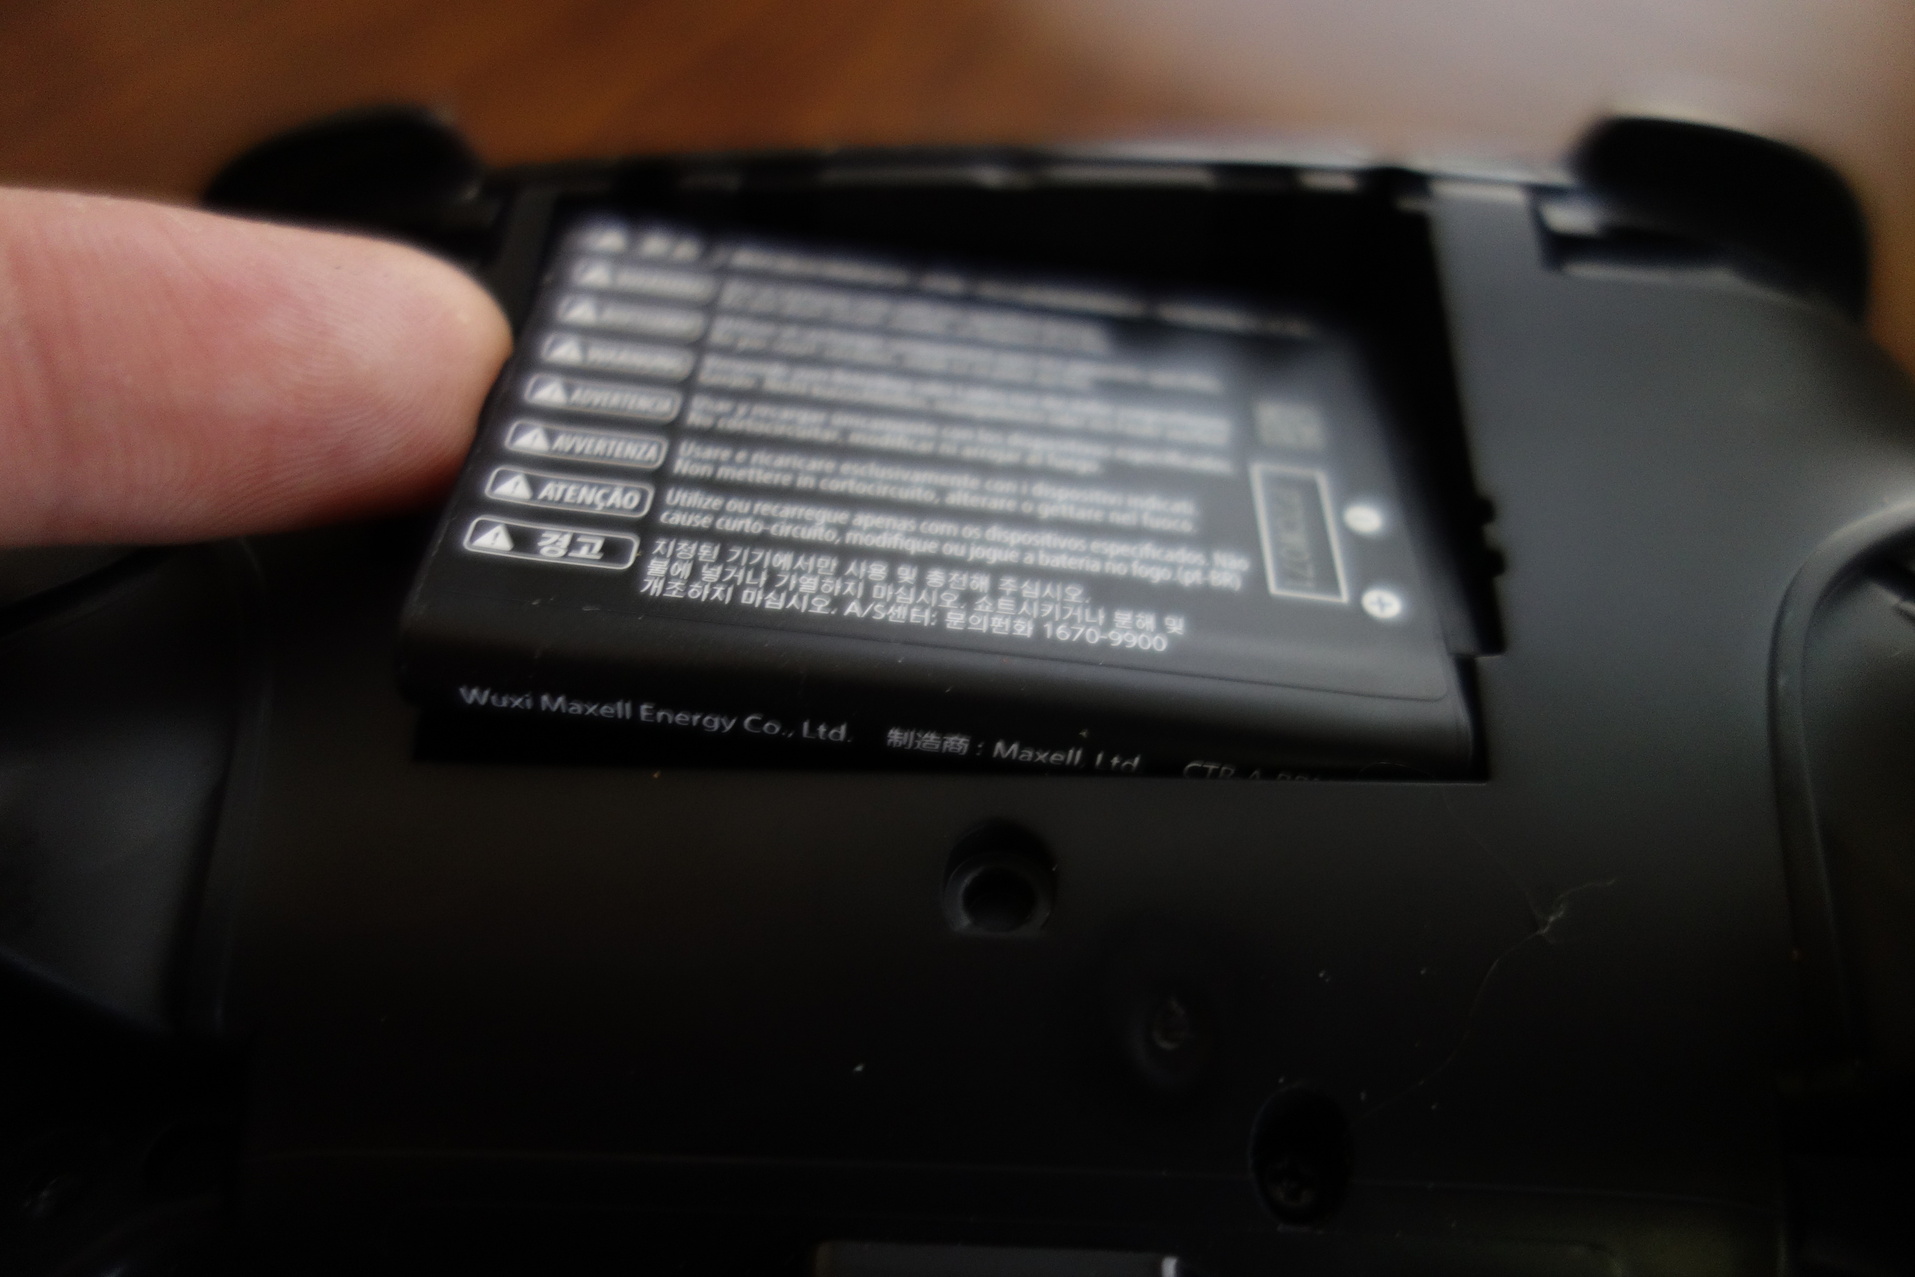
after you've removed the backplate, lift out the battery as well.
- disconnect the front and back
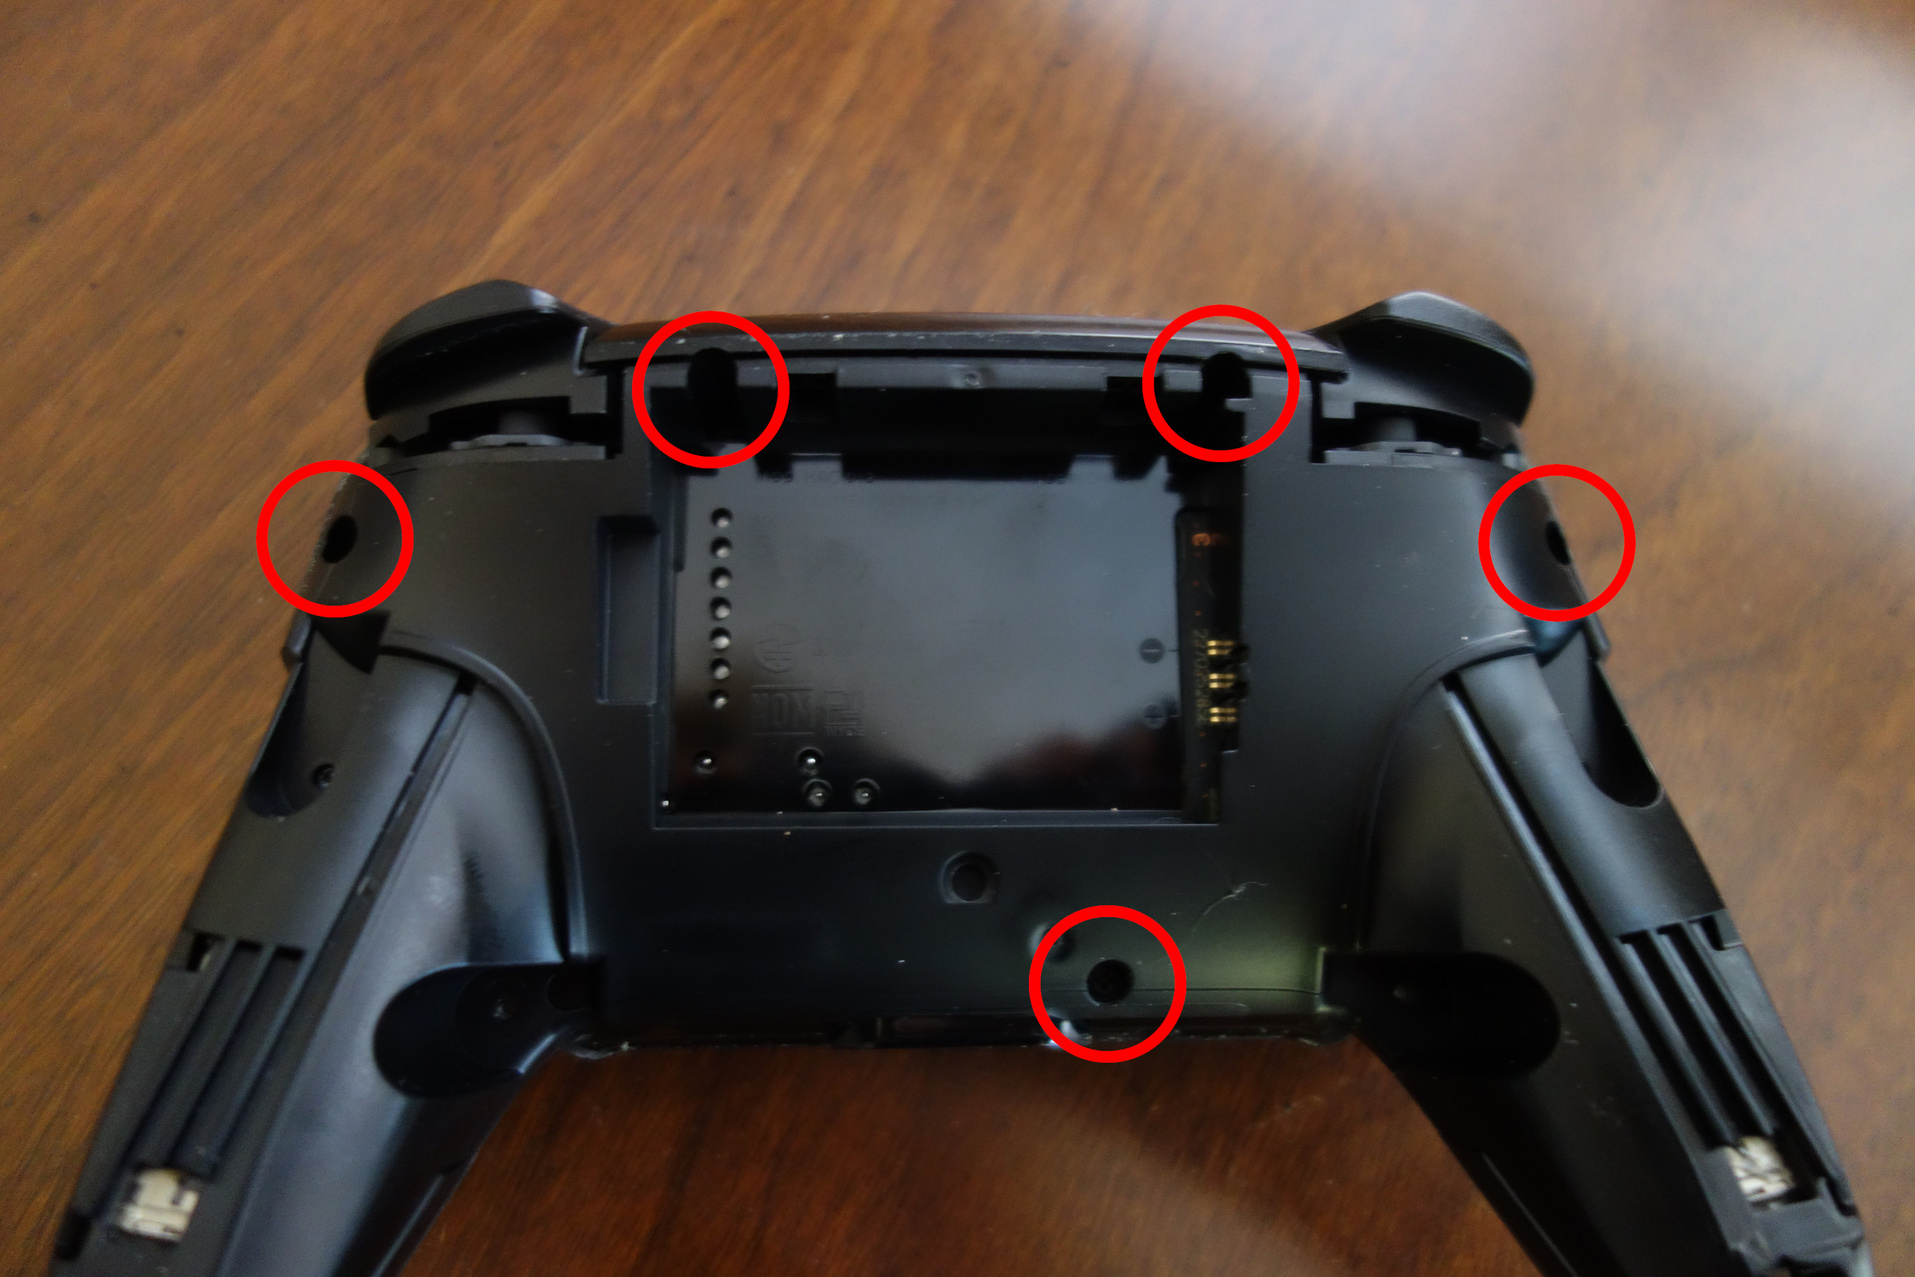
there are 5 screws. once you take them out, the two halves of the controller should be free to come apart. the rumble motors have adhesive foam on them, which holds the two halves together. you will need to apply some force to peel the halves apart.
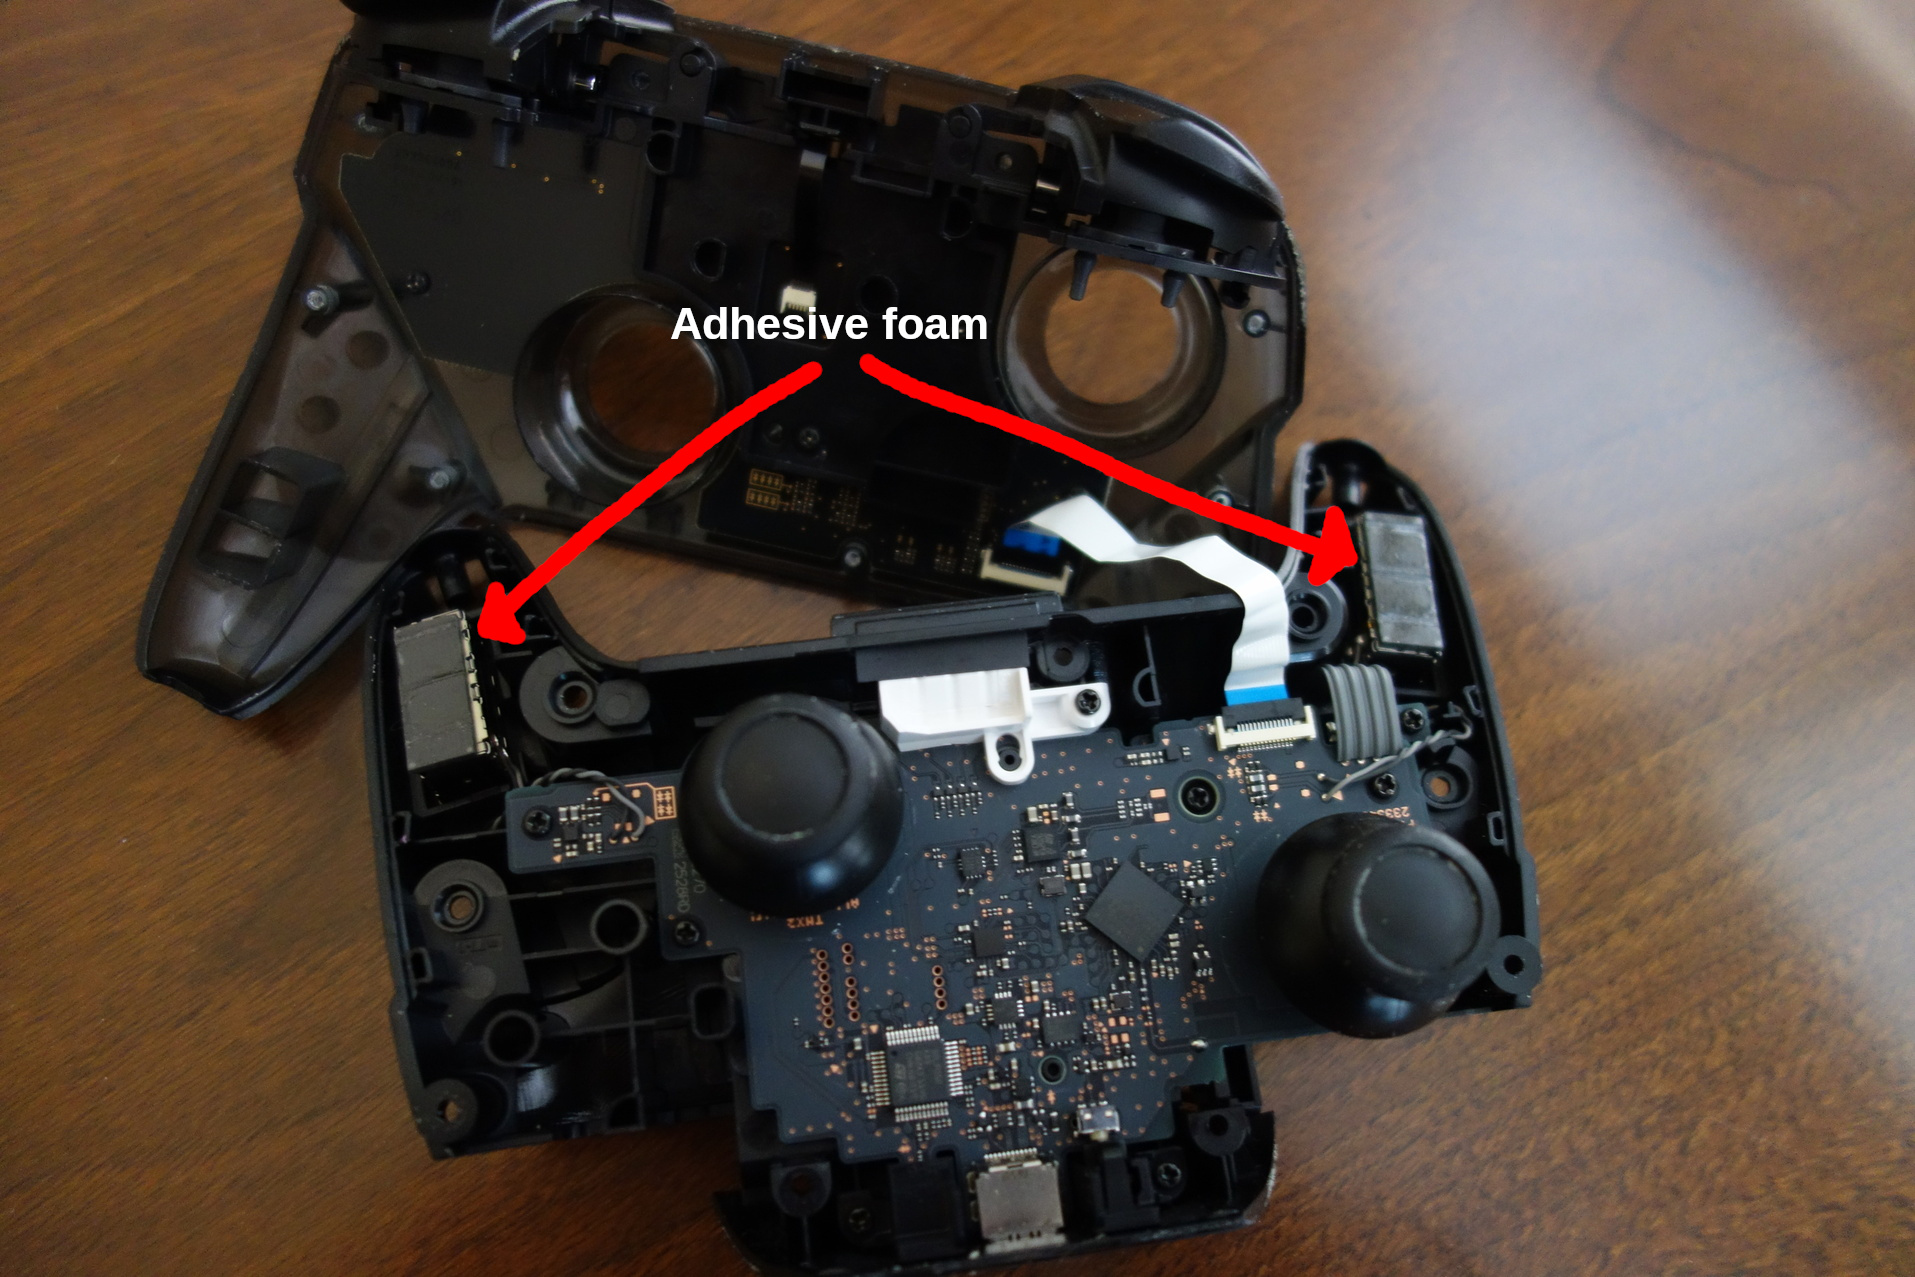
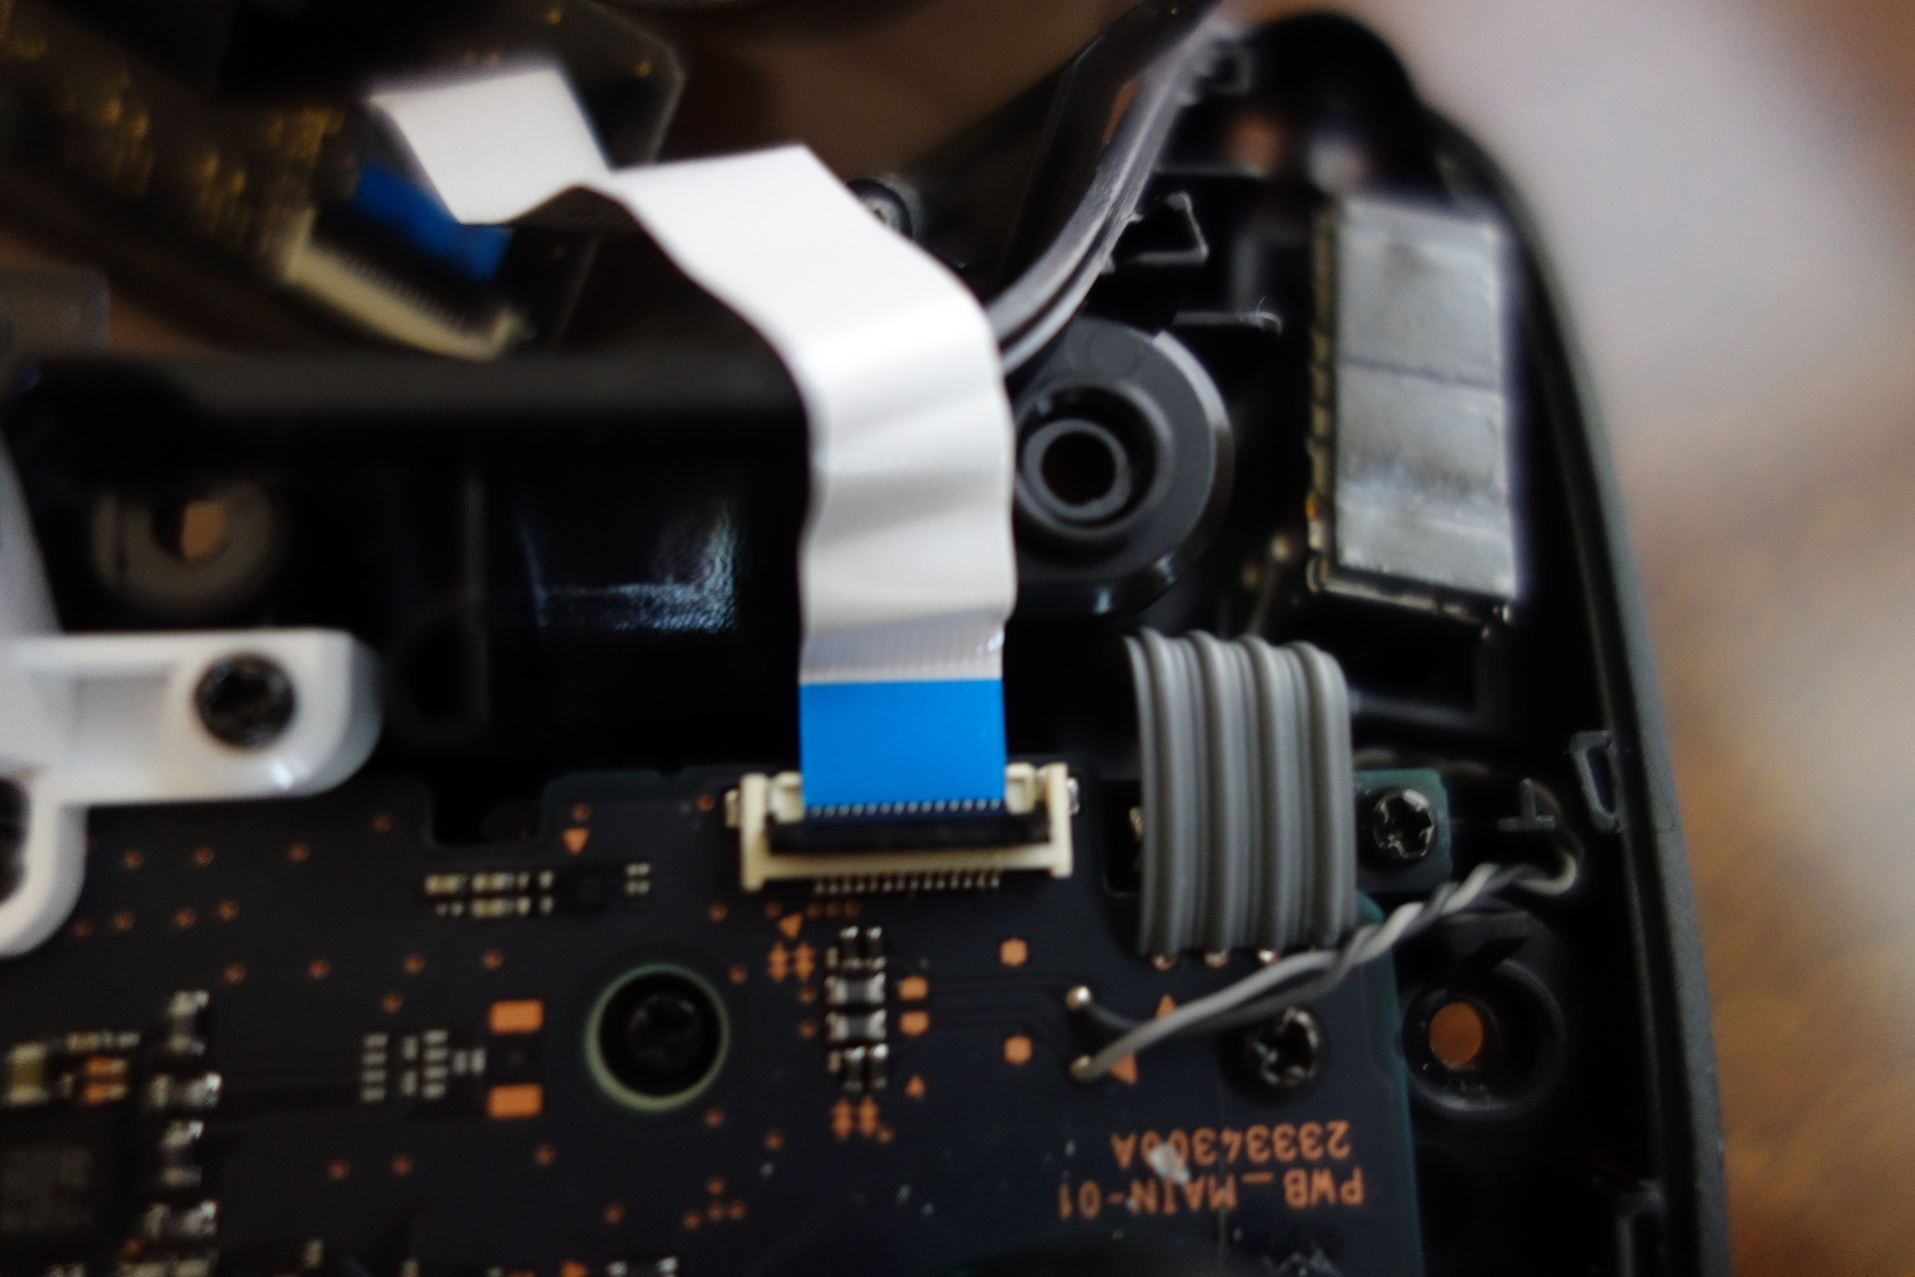
once you do, the sides will be separate but still be connected by a ribbon cable. you strictly don't have to take it out but it will make your life easier.
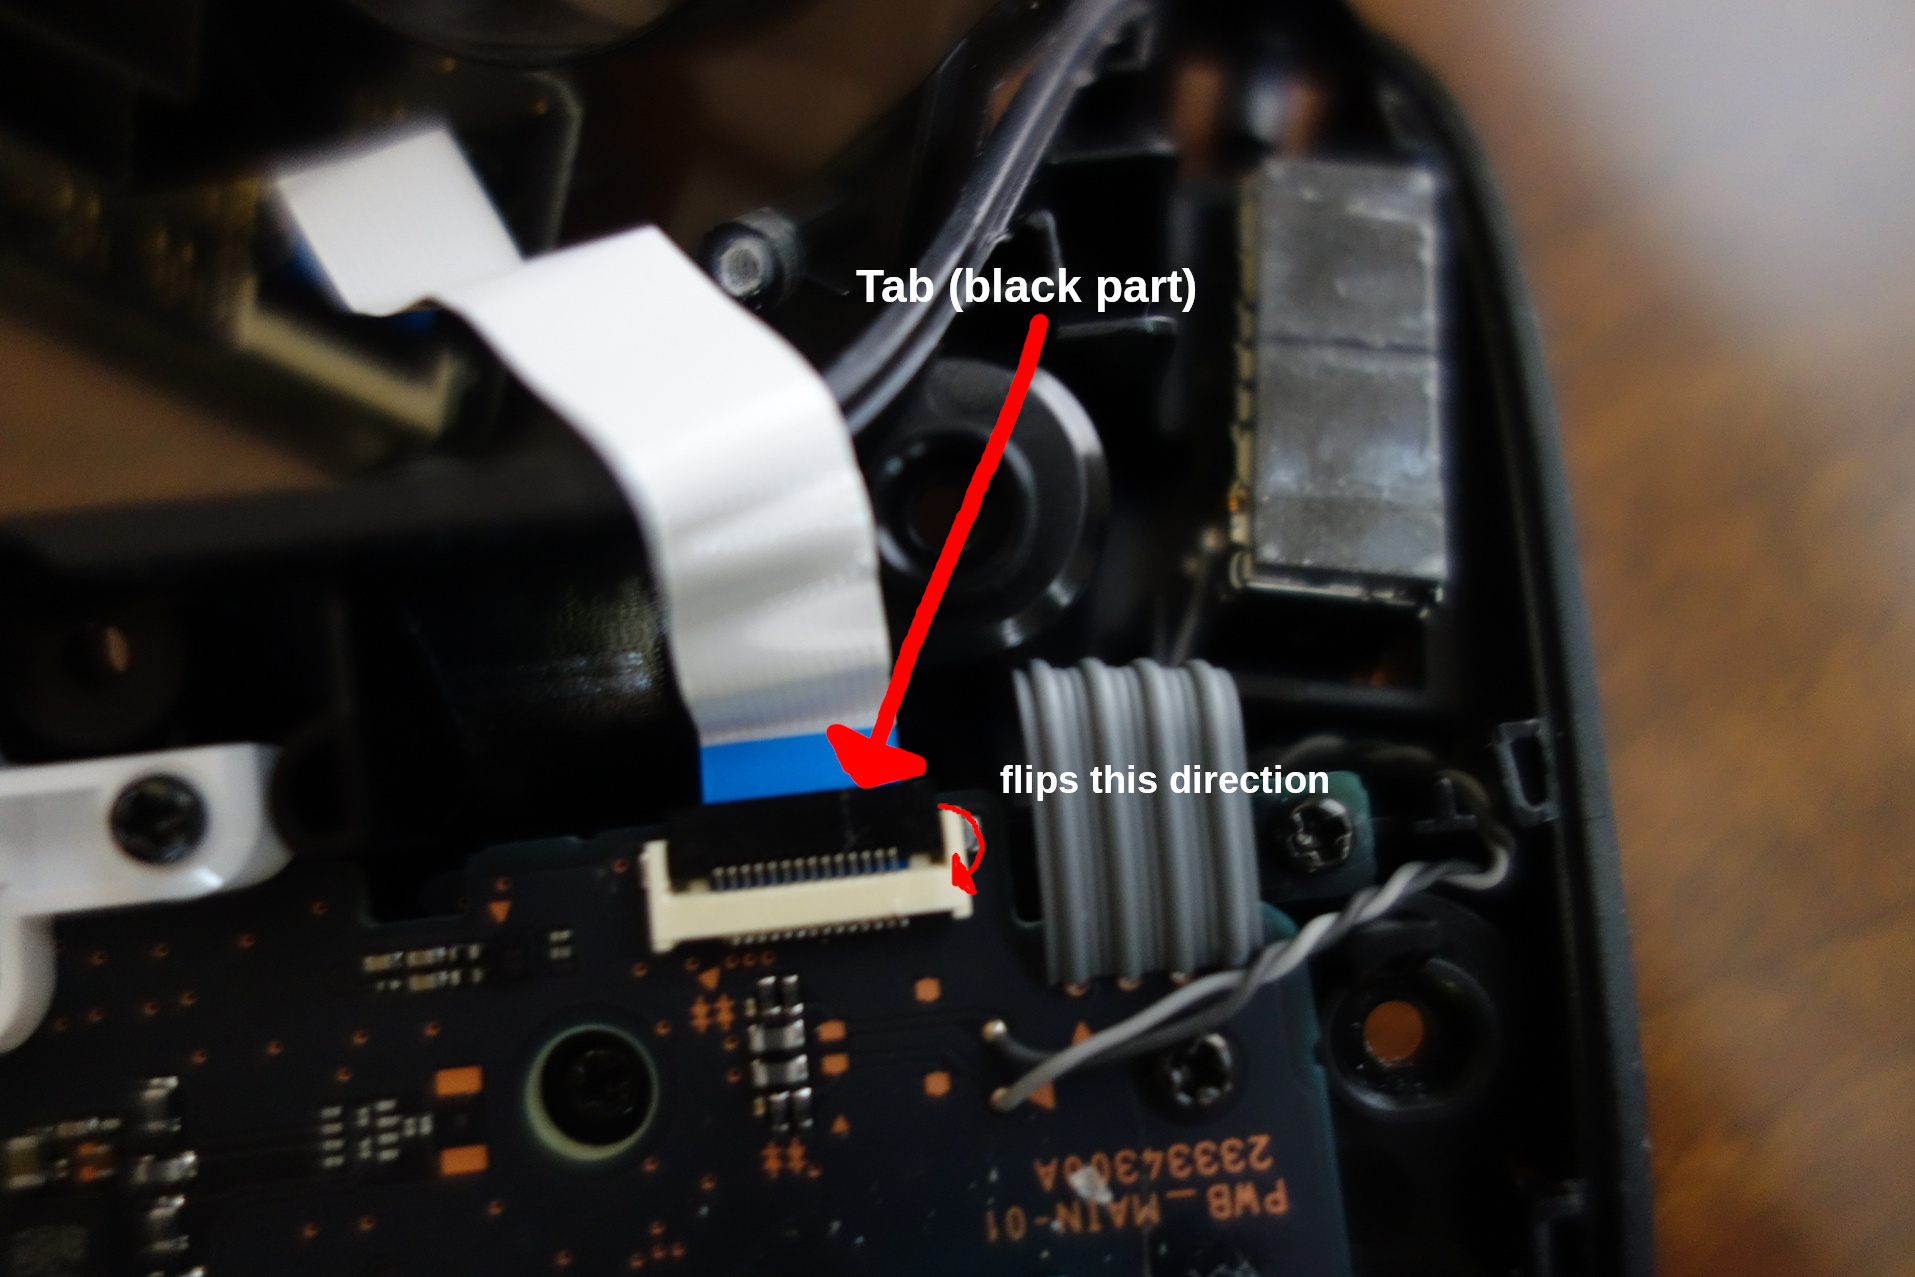
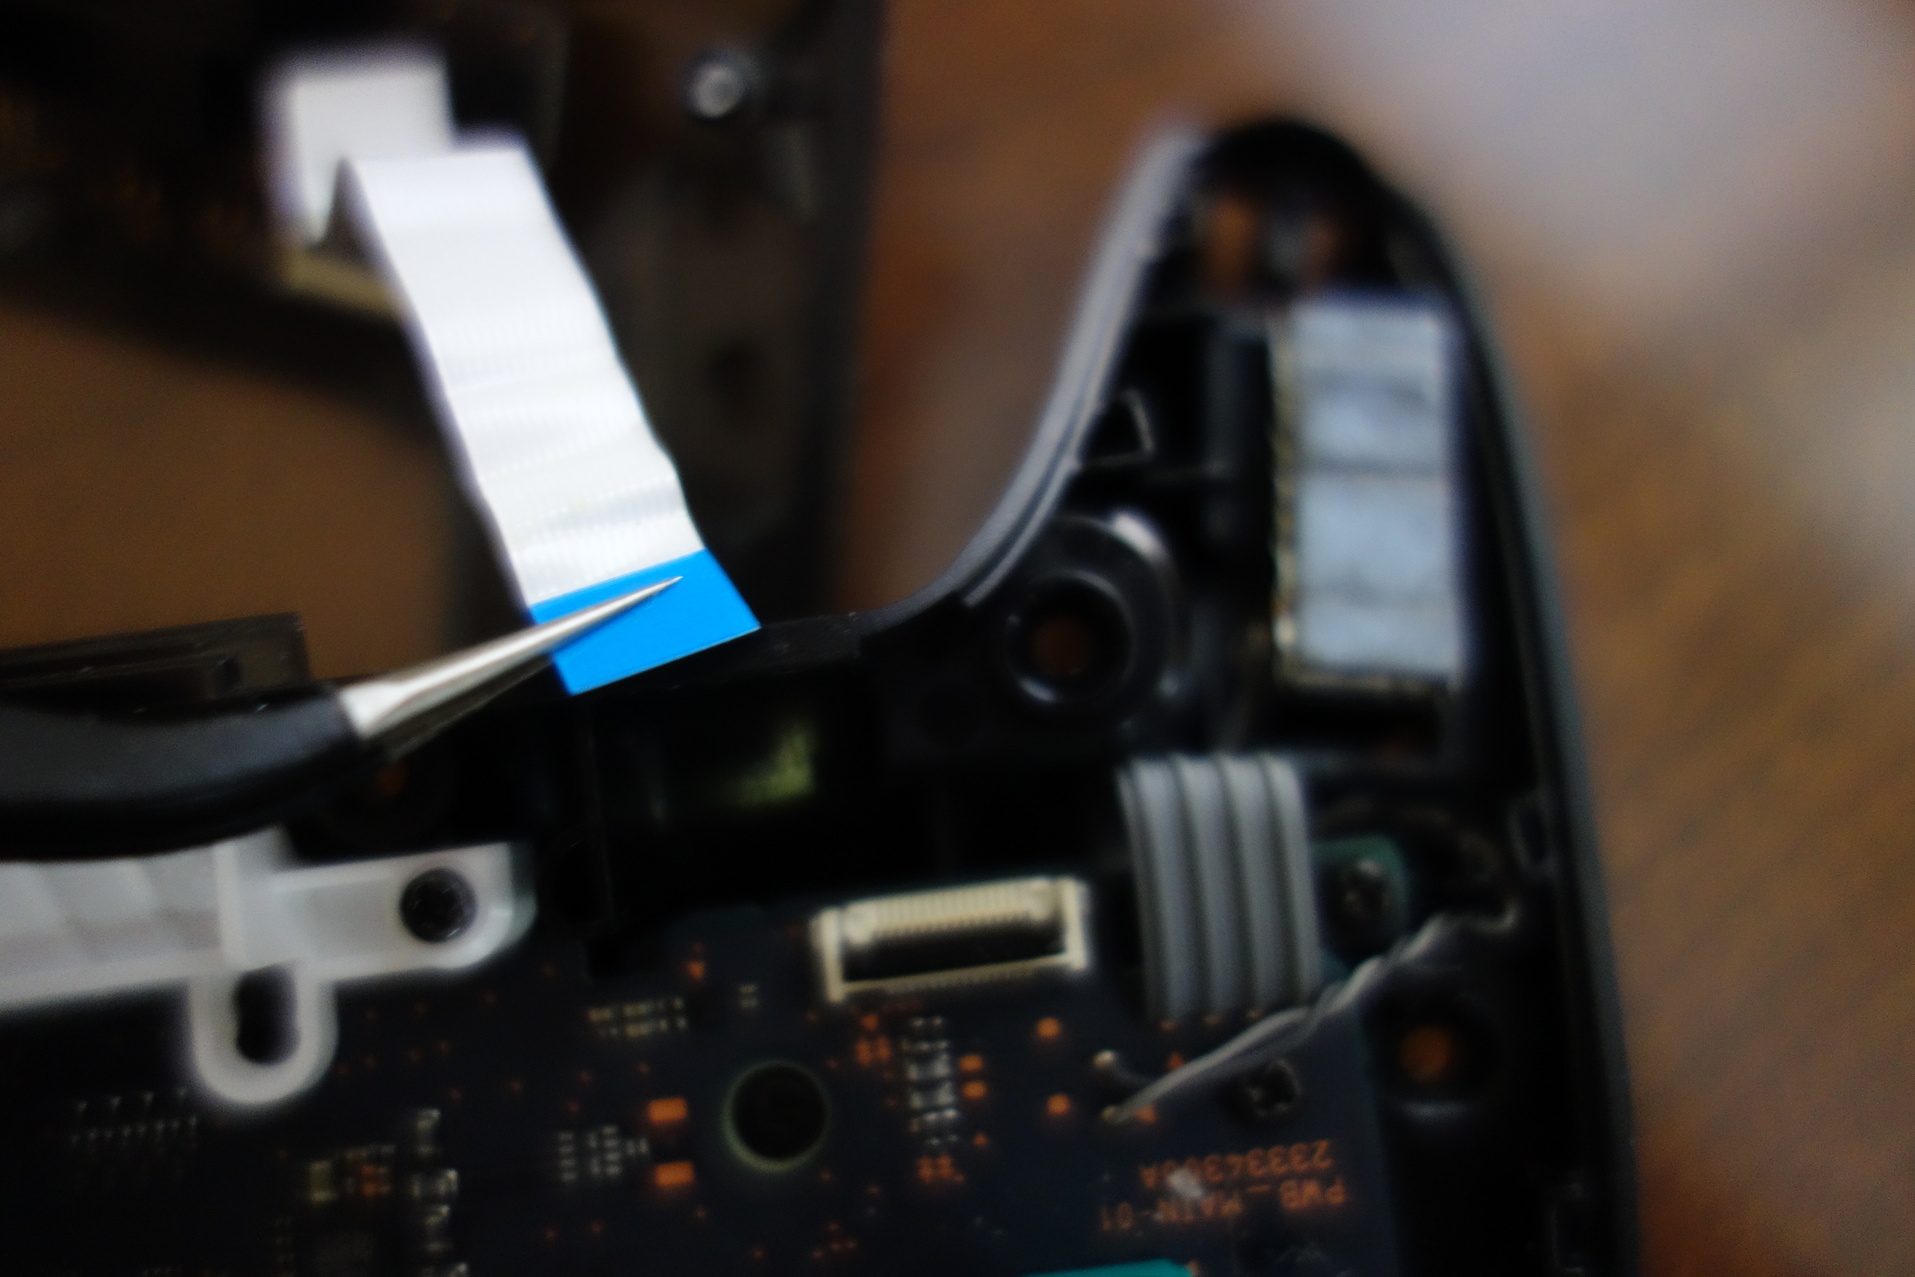
to take it out, just flip up the tab and pull out the cable.
- remove front pcb
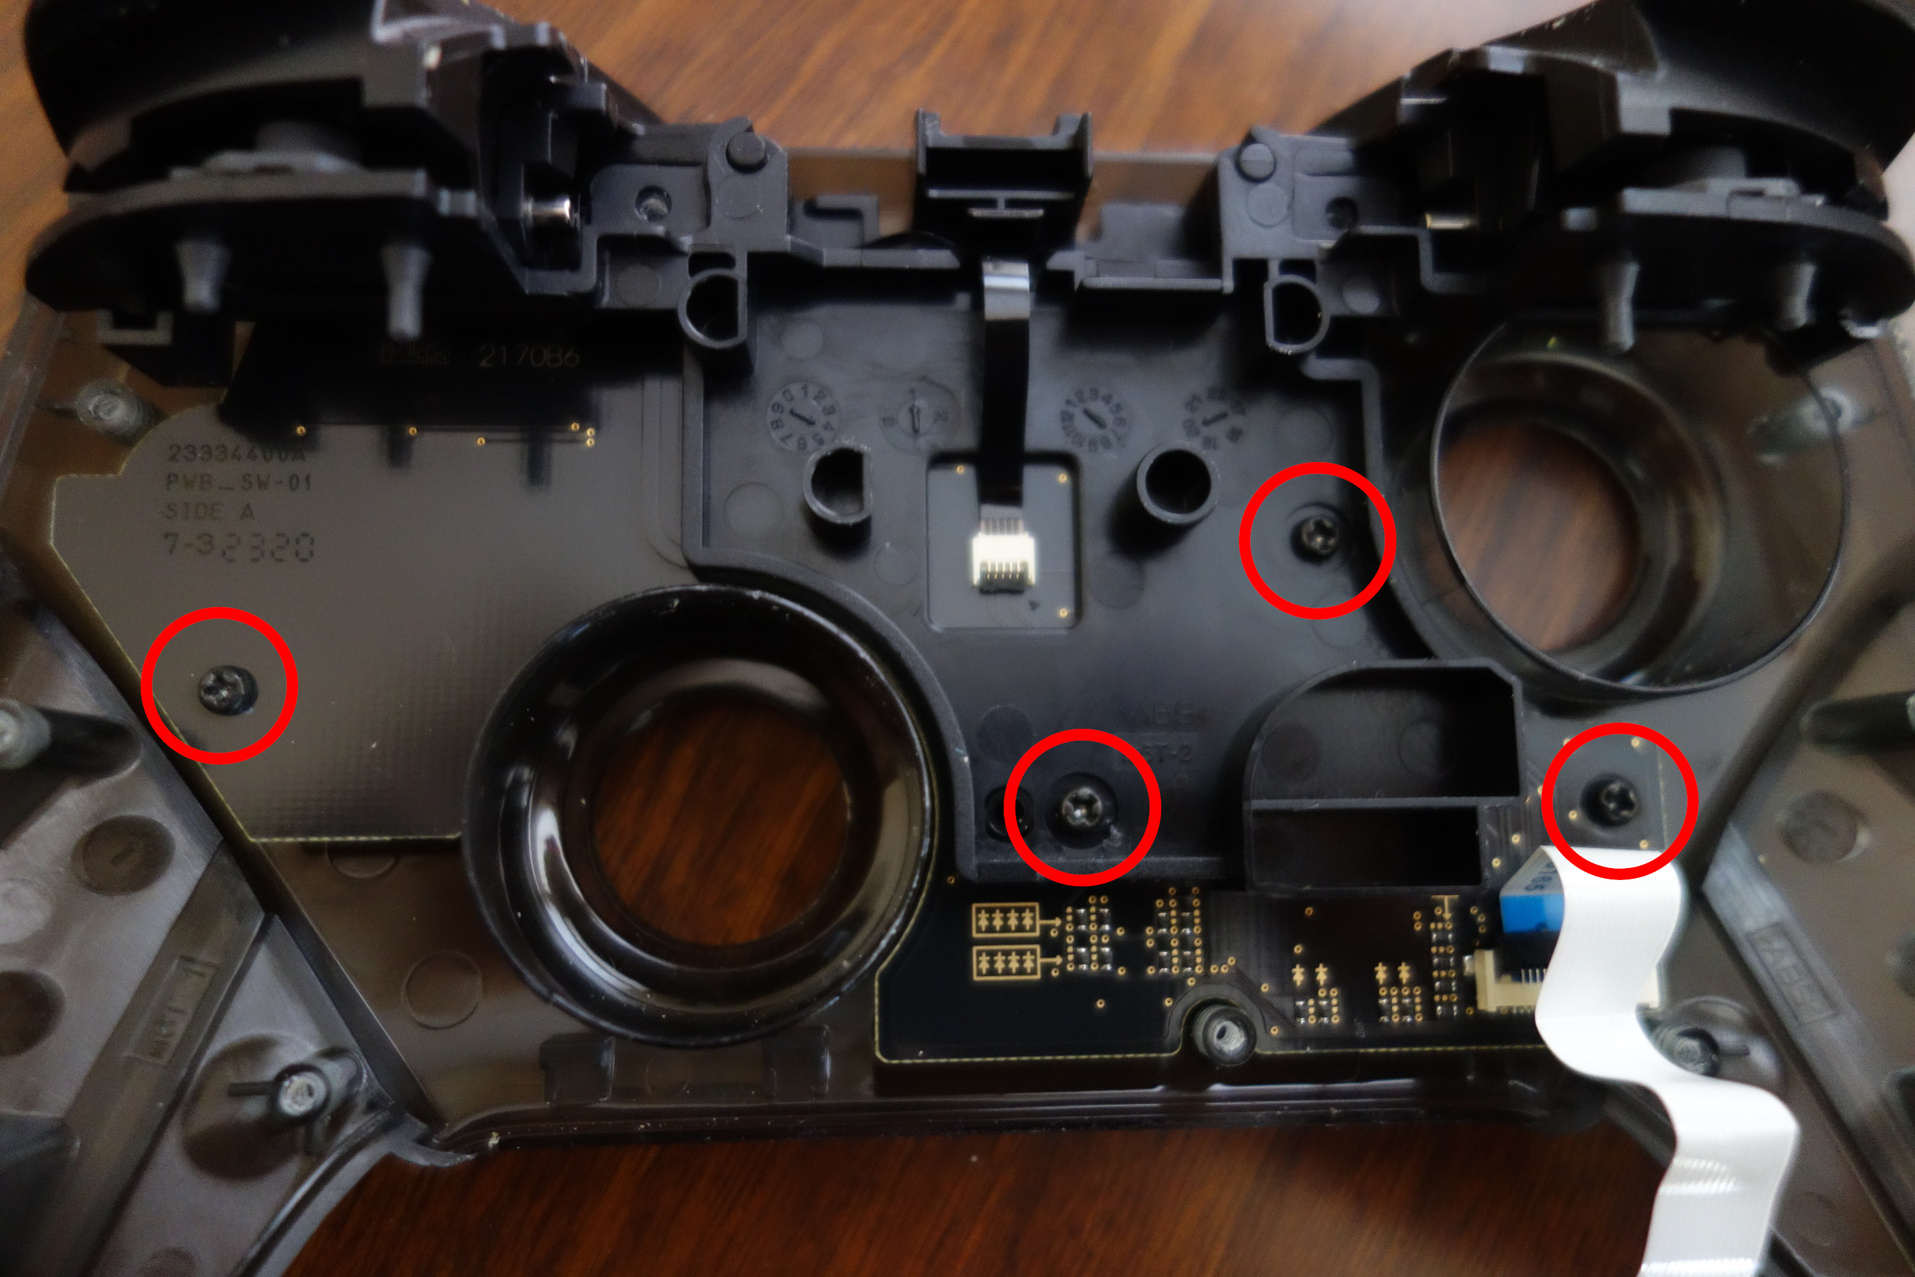
there are 4 screws here, and a ribbon cable. don't take out the thin black cable, just remove the screws and the plastic plate and pcb will come off as a unit. make sure not to pour the buttons on the ground here, as the pcb is what holds them in.
now you can replace the dpad, or install a paper fix underneath the peg. you can find my design for a replacement d-pad here.
to reassmble just do everything in reverse, making sure to use relatively the same screws in the same places. be sure to test the buttons after you put in the white ribbon cable and before you add more screws to make sure you didn't put it in tilted or something. just put in the battery, connect to your switch and test the buttons in a game or in the settings button tester.
about the design
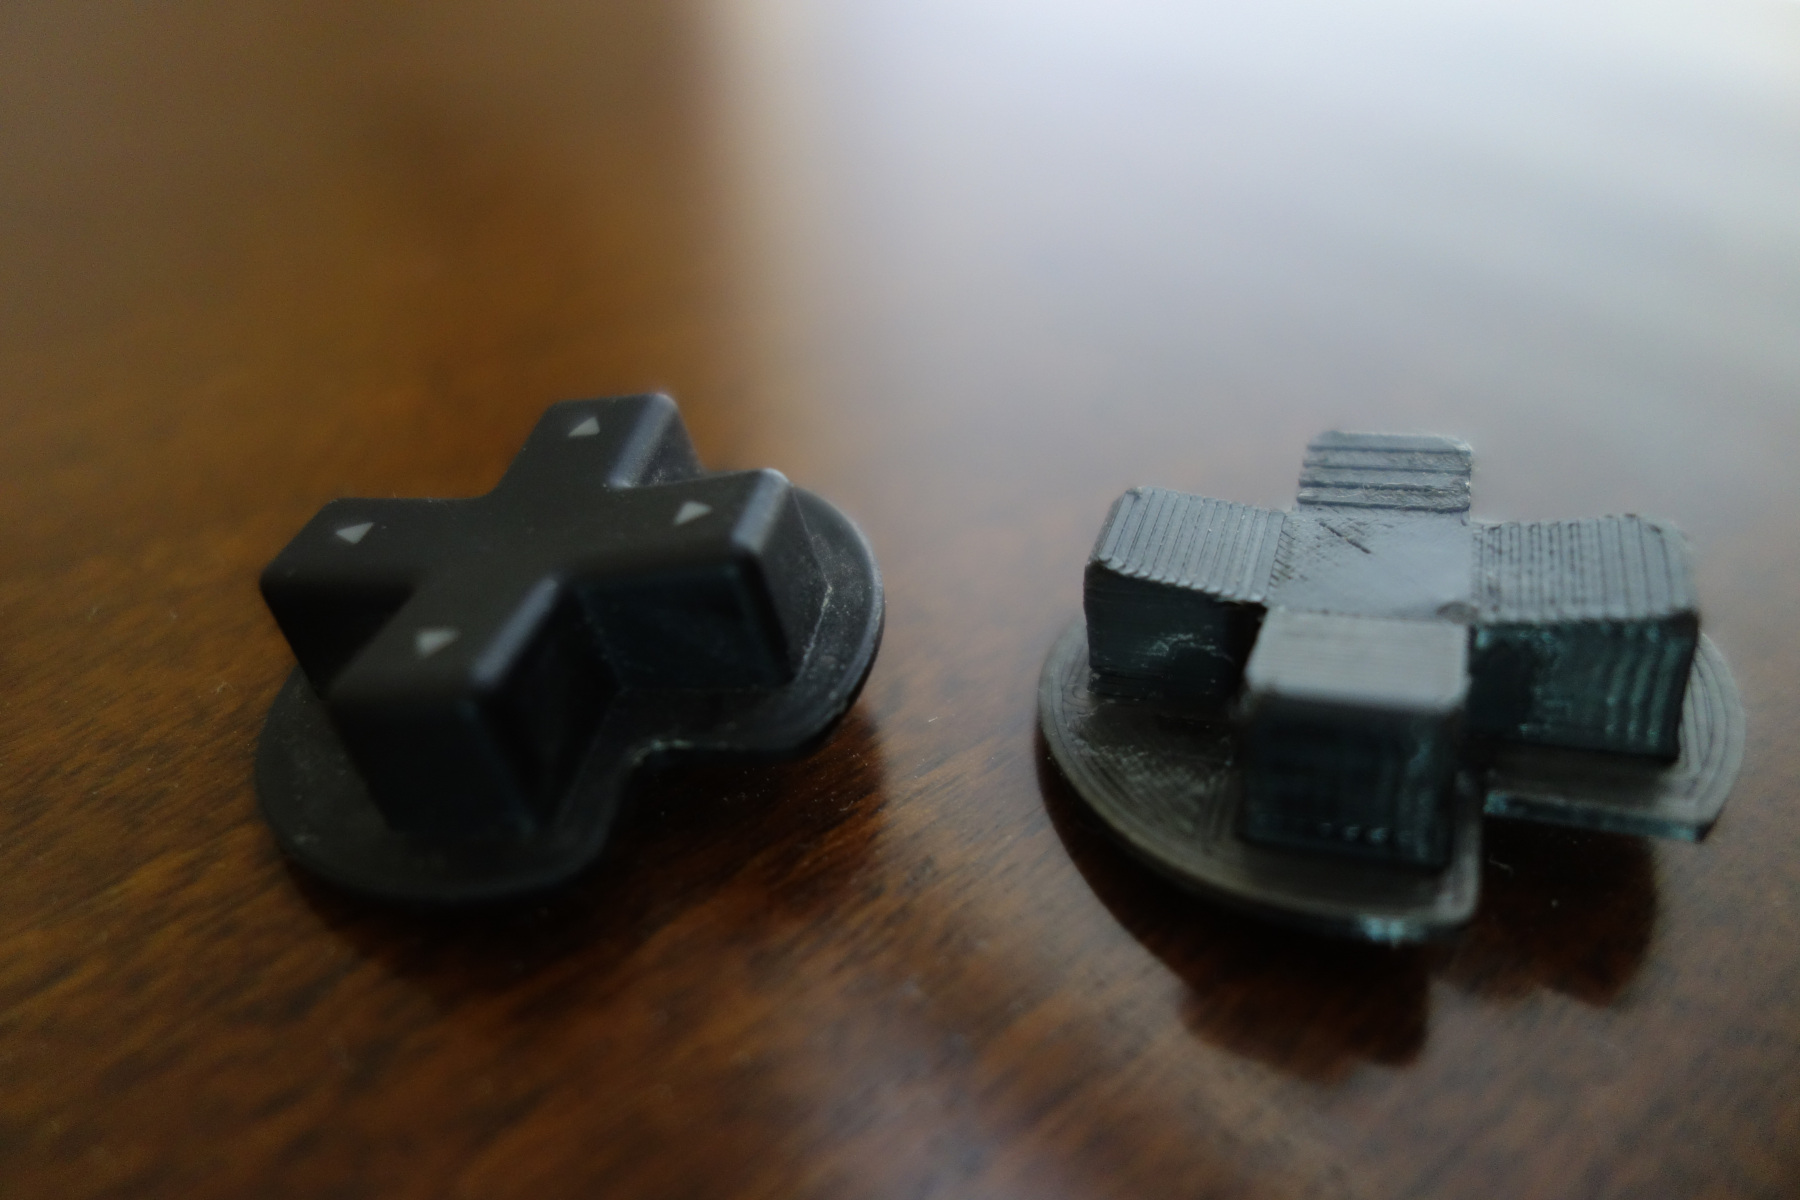
as far as we know, the reason that the nintendo dpad causes misinputs is because the peg in the center is not long enough. because of this, it allows the dpad to move more freely than it should be able to, so the wrong direction can accidentally be activated when a different direction is pressed. my design lengthens the peg a little bit and also makes it less round than the original, making it not only less likely to misinput but also possibly more tactile than the original, depending on the print job. also, previous dpad replacement designs have had alignment holes in them that are much deeper than those found on the original part, making the press feel squishy.
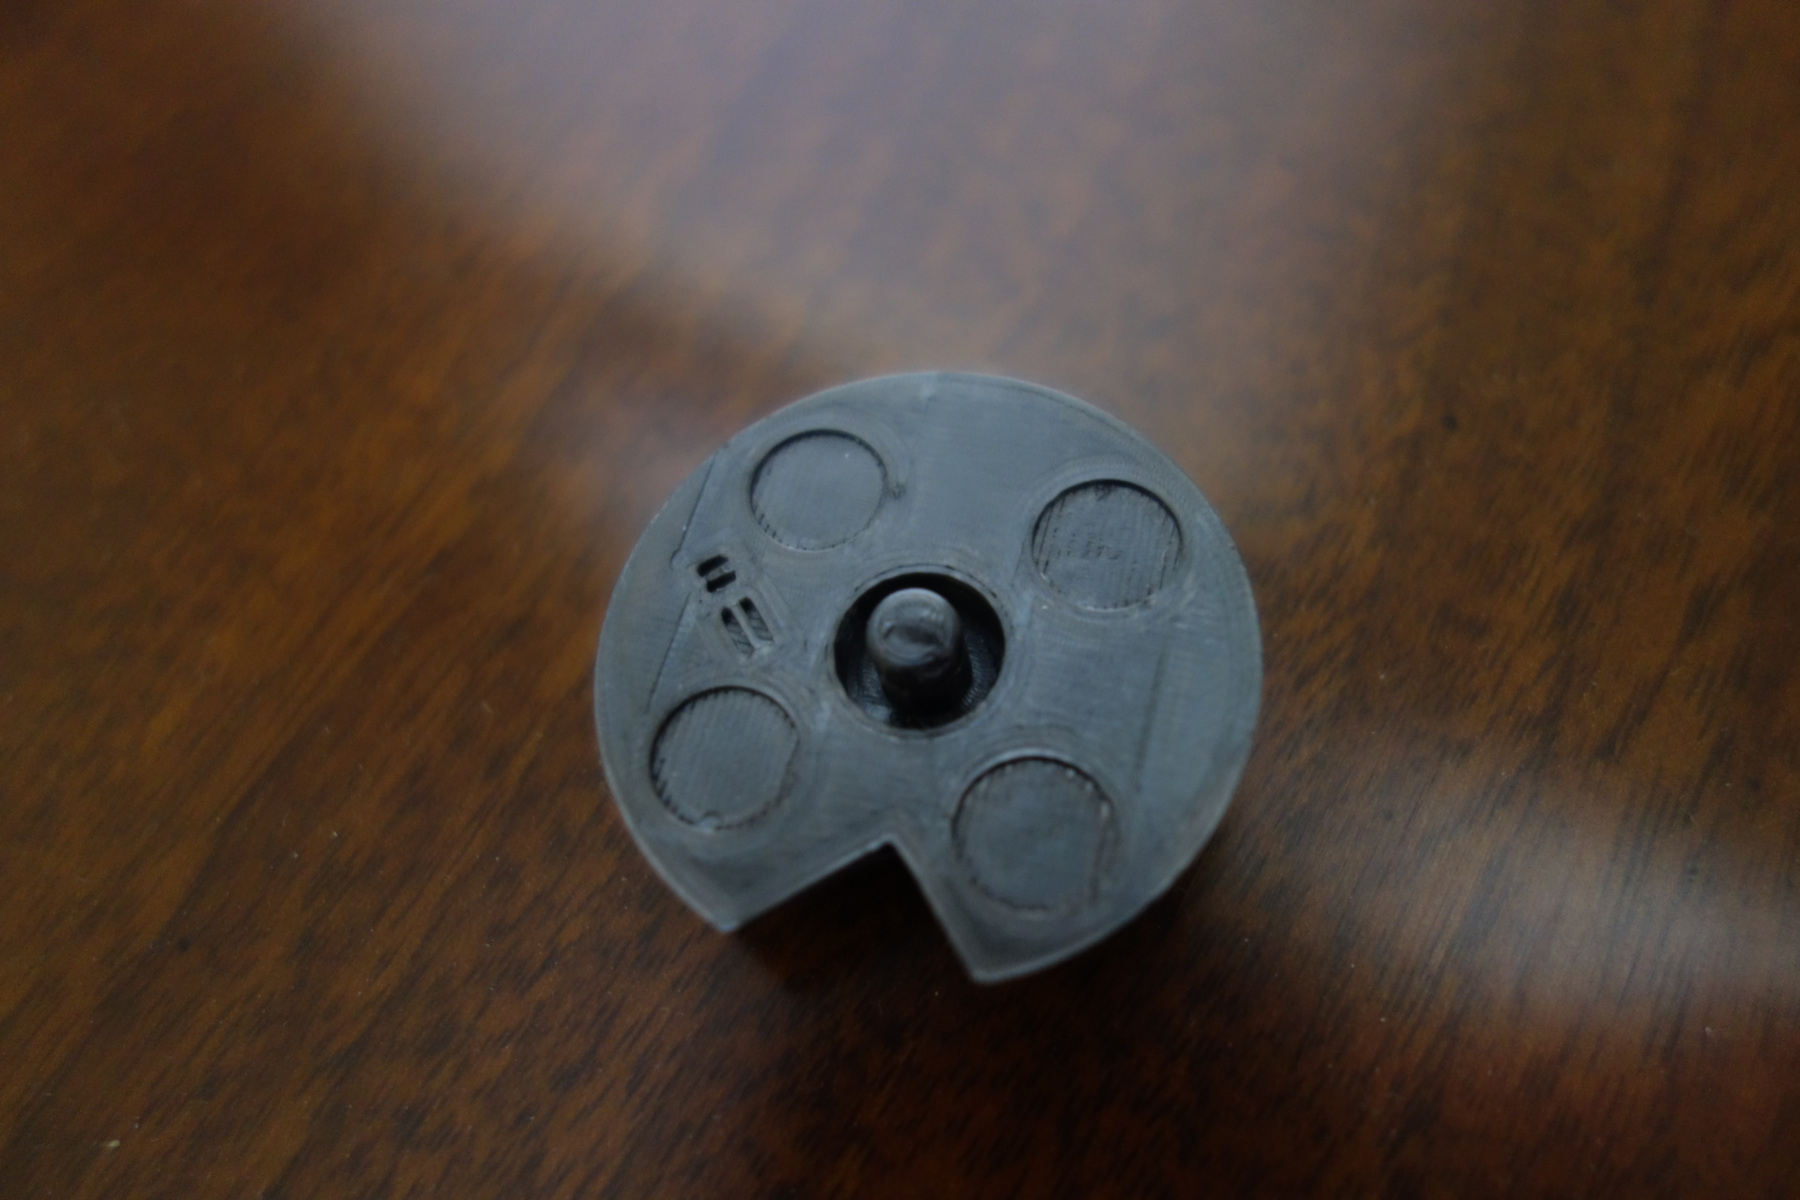
this new design uses a very shallow alignment hole pattern, once again to improve tactility. finally, the original part has a curved top surface, making it so that each direction is about the same height above the surface of the faceplate of the controller. previous designs had a flat top, meaning that they appeared uneven, and were also not quite the same experience. my design is printed in two pieces, so that the bottom surface (important for the feel and accuracy of the dpad) can be printed facing up, as well as the top surface (important for look and feel). this way, neither side has to deal with annoying supports and overhangs messing them up. the two parts are then glued together.
you can find this design in stl and fusion files on thingiverse here.